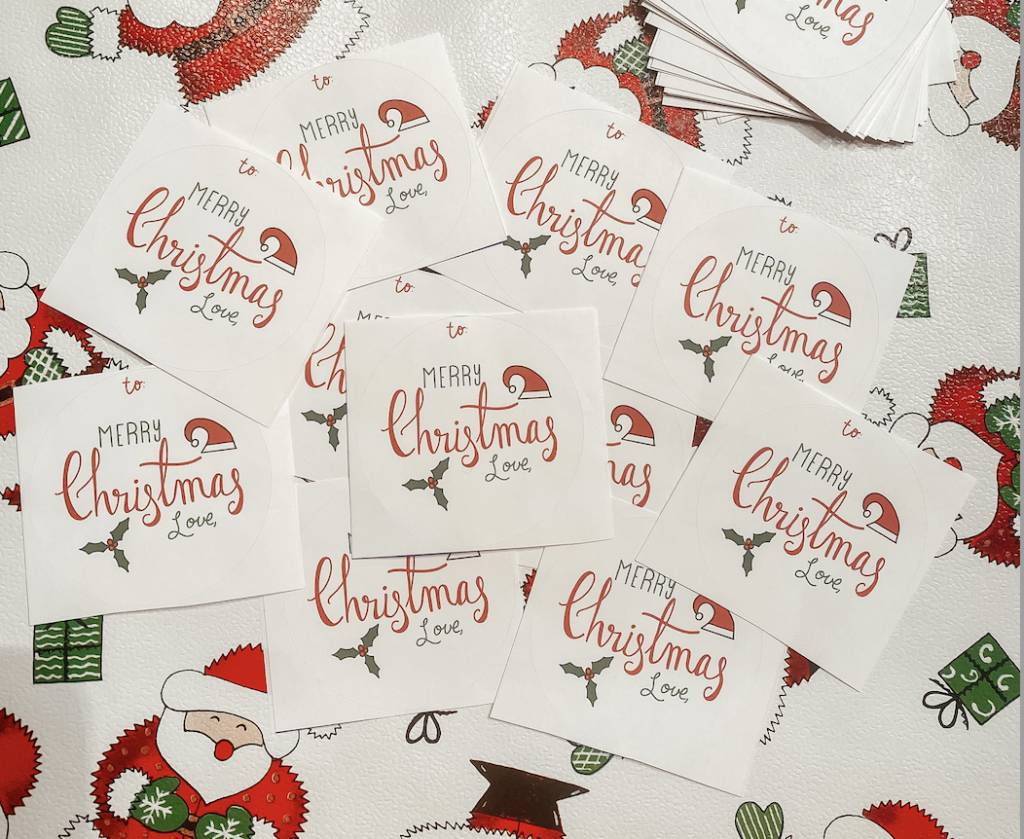
Wrapping gifts and making them look pretty is one of my many favorite things to do at Christmas time. This year I decided I wanted to up my game just a little by making homemade gift tags. I decided to make mine stickers so I could stick them right on the presents. Below you will find how I did just that.

Materials
- The art work
- Avery labels, I used round labels with a 2.5 diameter (product number 5294)
- A printer
How to:
- Create your art work. I drew mine on my iPad using the app procreate and my apple pencil. I love how it turned out. Art isn’t your thing to problem. You can use websites like Canva and create an adorable design with their preselected font combinations. I found it help full to insert a circle prior to starting my design so I would stay with in the shape of the labels. The Avery website also has some really nice pre-made ones you can personalize if you don’t want to make your own.
- Once you create your art work save it as a .jpg to your computer.
- Open Avery.com/templets
- Enter your label product number in the search bar.
pick up here if you made your own design:
- Click upload art work.
- Find where you saved the .jpg and upload it
- Resize and fit to the label
- Check and download the .pdf
pick up here if you are using one from Avery.com:
- Click the red button that says “start designing”
- Select a design that makes you smile and fits the look you are going for
- Personalize with your message
- Check and download the .pdf
Time to print:
- Open the .pdf
- Load label paper with labels face down in the printer
- Print one at a time page at a time
- Use on all your gifts
Now that you just elevated your gifts a whole 10 notches you are set to give all your gifts to your friend and family with a personalized gift tag. Don’t want to make your own, head to my latest instagram to win your very own set of the ones I made. Giveaway closes 12/3/20.
Happy Christmas prep!

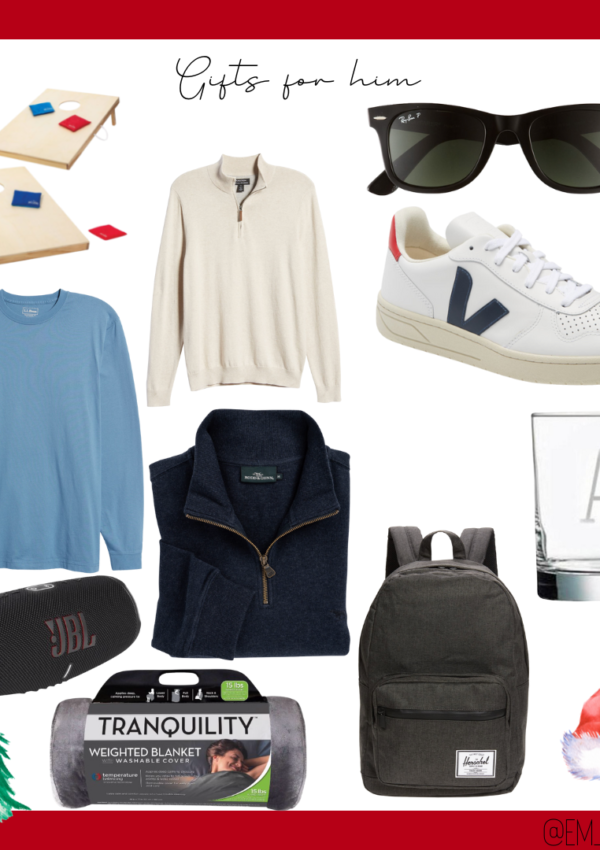
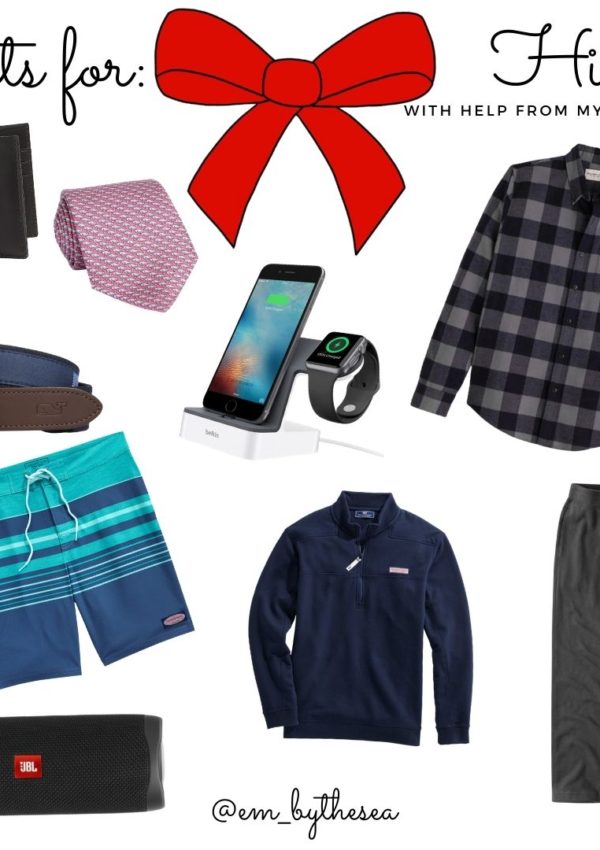
Need more gift ideas check out my gift guides here


